|
INSTRUCTIONS |
| |
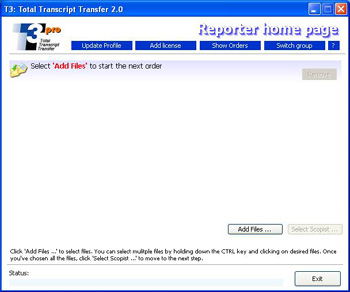
Click "Add Files". |
 Click to Enlarge Image
 |
| |
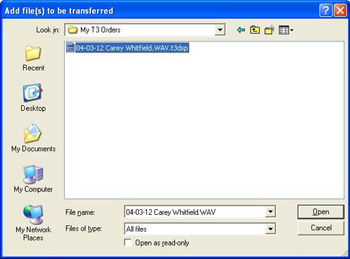
Click
on the first file you'd like to send. Hold down your CTRL key and
left click on all the other files you wish to send. Once all files
are selected, click "Open".
FILES CANNOT BE ADDED FROM EXTERNAL DRIVES such as a CD drive, zip drive, etc. They must be selected off your computer's hard drive.
DO NOT ZIP FILES! Zipping files actually hinders the T3 process. T3's
compression is far superior to a zip, and it will be bypassed if a
zipped file is added. |
Click To Enlarge Image
|
| |
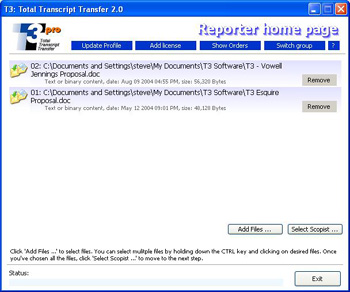
Click "Select Scopist"
|
 Click To Enlarge Image
|
| |
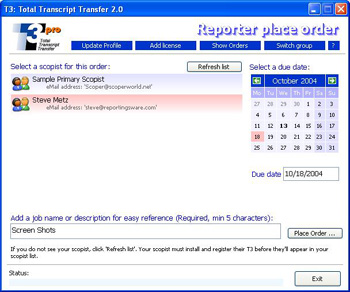
Select the proper scopist, choose
the due date you'd like the job returned, add a job name, and click "Place Order".
|
 Click To Enlarge Image Click To Enlarge Image
|
| |
That's it! T3 will compress all your files, encrypt all your
files, and load all your files onto T3's secure servers.
|
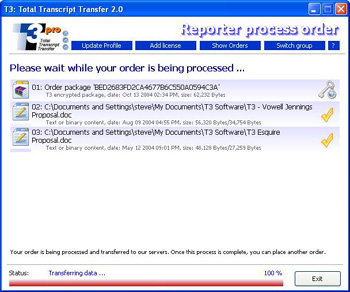
Click To Enlarge Image
|
|
Congratulations!
This completes the transfer of the documents to the T3
secure servers, and the job will be available to the scopist you selected!